
Every editorial product is completely selected, but we could be compensated or earn an affiliate commission when you purchase something via our hyperlinks. Prices and ratings are correct and products are in stock at the when they were published.
Clear Water Rinse Before Washing
If you rub the dry paint by splashing it with water that is soapy, it will crush the surface dust and road grit in your paint finish. Detailers who are professionals always begin with a clean water rinse to clean as much dirt and dust as is possible.
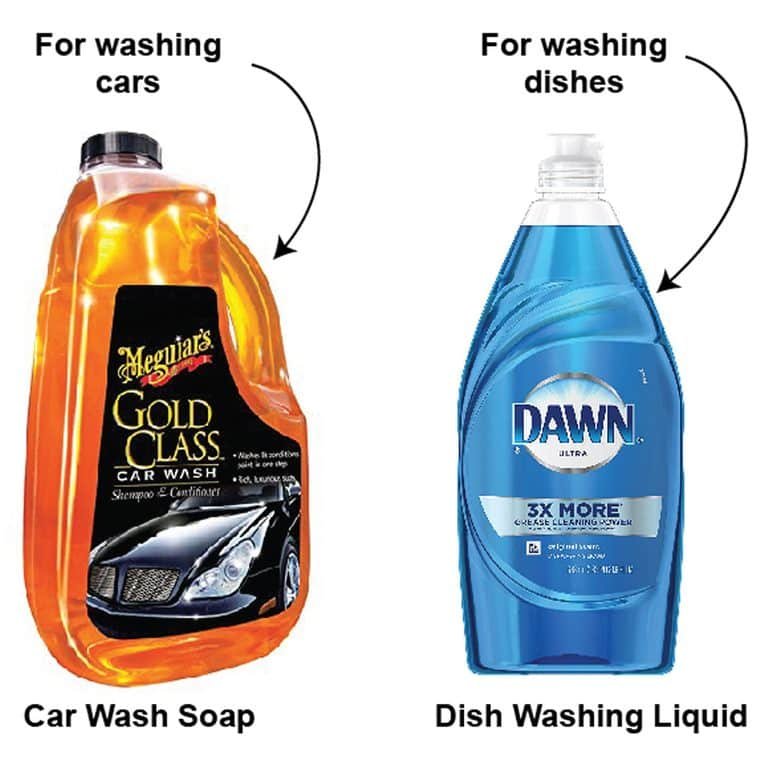
1) Use the Right Soap
Dishwashing liquid is the preferred option for DIYers of all kinds. However, it should not be. Dishwashing detergents are too harsh. It takes vital oils out of the finish of your car and could reduce the lifespan of the finish. A professional car detailing service will employ car wash soaps for professional detailing of your car, such as Meguiar’s Gold Class Car Wash. if you are employing the right cleaning supplies in your home?
2) Forget the Sponge, Use a Microfiber Mitt
Sponges hold dirt and grit within their huge pores. You can squeeze it out but the grit stays there. After the grit has been embedded, you could additionally clean your vehicle using sandpaper. Car detailers using an auto wash mitt made of microfiber because the grit will fall off as you wash.

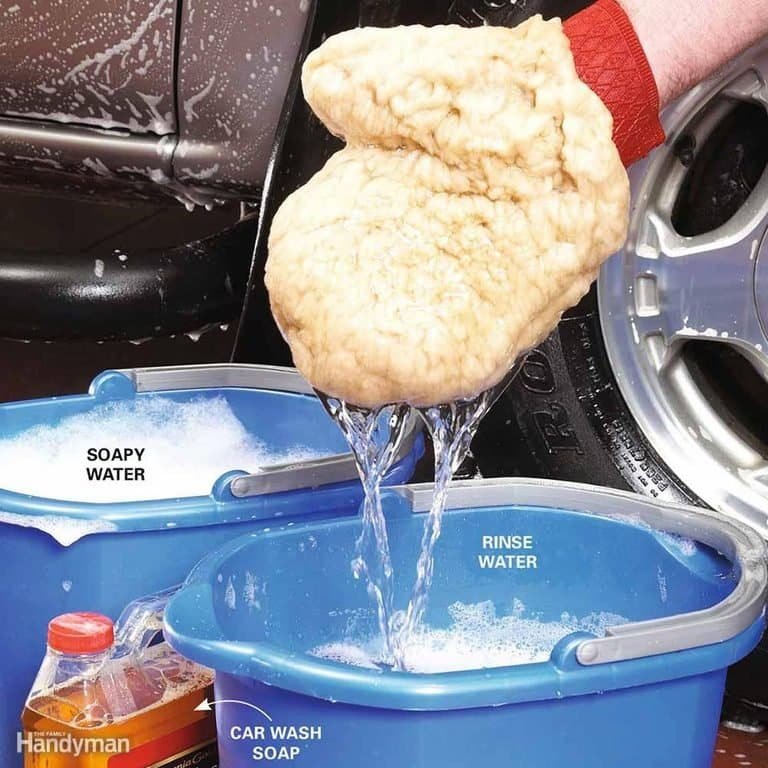
3) Use Two Buckets
One bucket is for pure soapy water and the other for water to rinse. After each wash, immerse the dirty mitt into the bucket for rinse water and then swirl it around to remove the dirt and dust. After that, dip it into the soapy water and take it up the place you left off. Get rid of the dirty rinse water and then refill it with fresh water before you go to the opposite side of the vehicle. So, you can keep the soapy water in good condition.
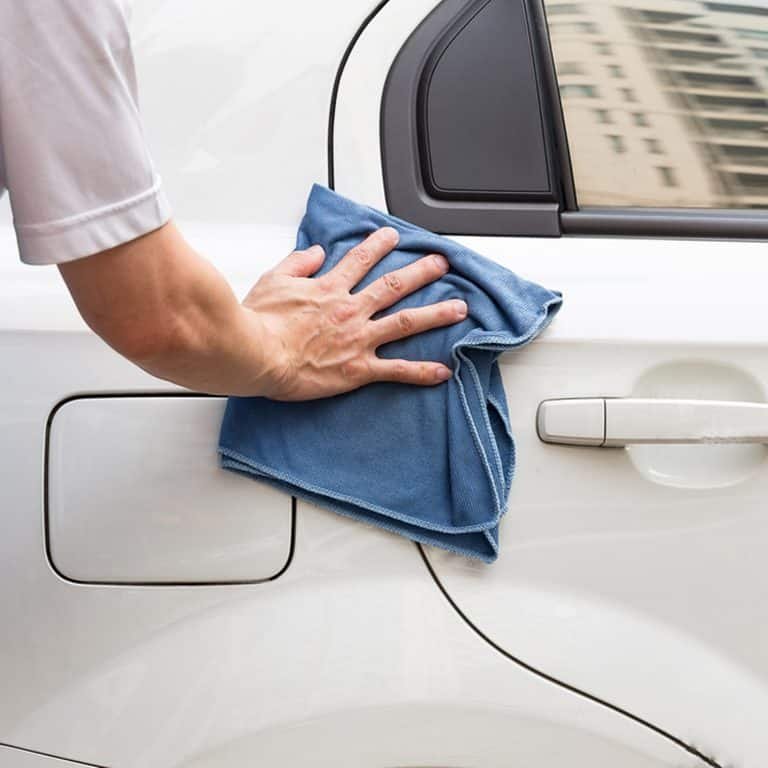
4) Forget the Chamois, Dry With a Microfiber Towel
Chamois absorb water however they don’t absorb the grit left behind after washing. Instead, they simply grind the particles into the paint. A microfiber towel, on contrary, catches the particles. Make use of the microfiber towel with pure water to wash away the particles. Dry it off and then wring.
5) Remove Minor Scratches Before Polishing
This is the step that separates those who do it themselves from professional detailers. Polishing can improve the shine of your car, however, it does not take away scratches. But, if you get rid of the scratches first using scratch removal tools before polishing, you’ll see additional shine. You can find scratch removal kits at any auto parts shop.
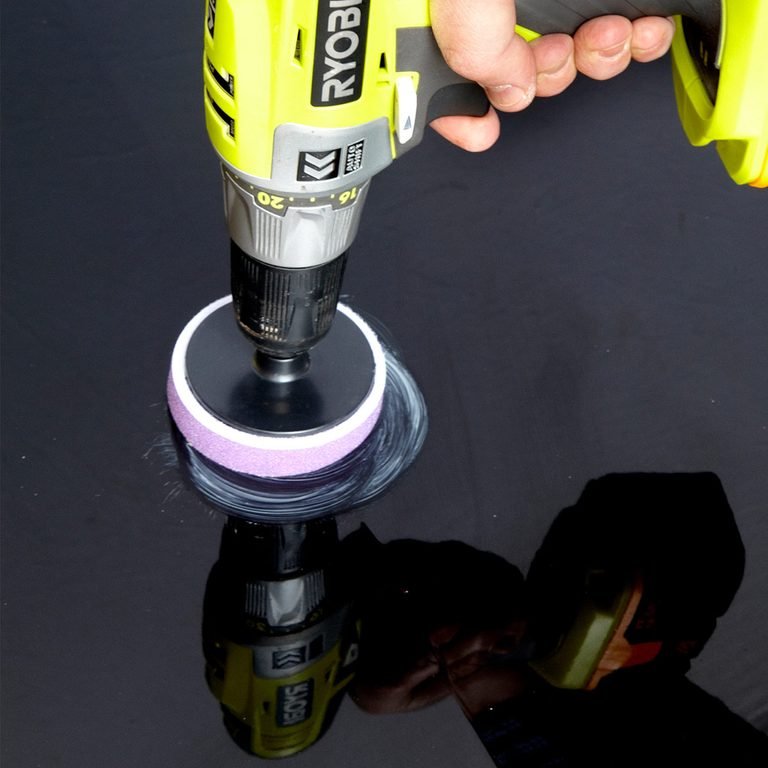
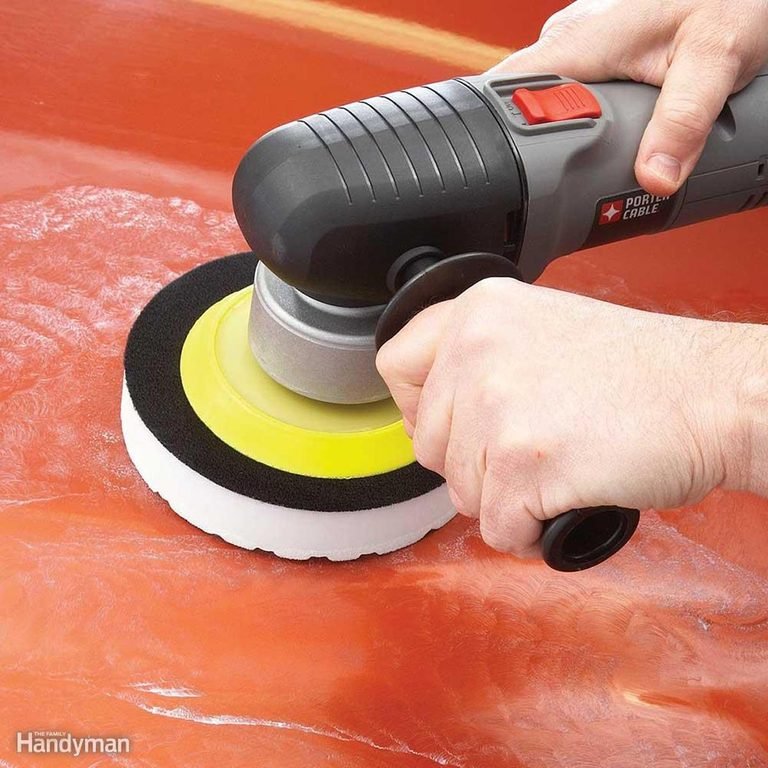
6) Buy a Dual-Action Polisher
A car detailer shouldn’t be able to survive without an action polisher that has dual-actions. Do not confuse this amazing tool with a buffer that is high-speed! Buffers operate at higher rates and can cause burns to the paint right off of your car if you are for longer or work too to hard. Polishers differ they operate at lower speeds, and they oscillate in their rotation. Anyone with a DIY skill can get knack of polishing in only some minutes. The process of polishing prior to waxing can make a big difference. So the investment will pay off.
Another polishing trick from professional detailers is to apply the polish onto the pad of your machine. After that, wipe the pad over your paint. This will stop all polish from flying off the pad once you pull the trigger.
7) Use Synthetic Wax
Old style paste waxes look great on antique cars. However, they don’t give that same “wet look” as modern synthetic wax do not last as long. If car dealers offer paint sealants, they’re applying a top-quality synthetic wax. This is an easy task you can perform yourself at a fraction of the cost. Apply synthetic wax in tiny sections using a wax application sponge.

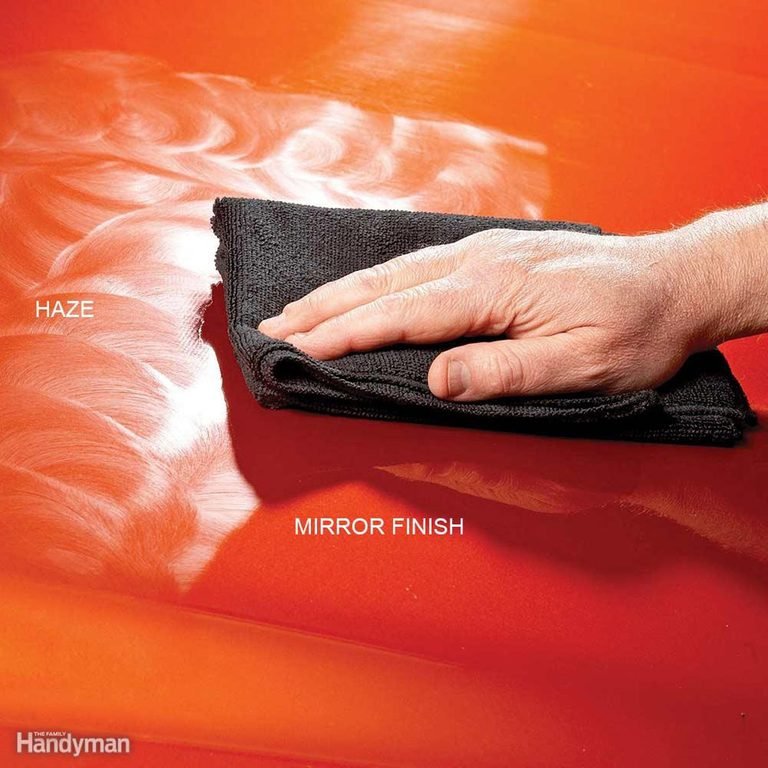
8) Remove Wax Haze With a Microfiber Towel
It’s true microfiber towels are stars of car detailing all over the world. Remove the wax haze by using circular motions. When the towel is loaded with wax, fold it into a clean section. You can use a different towel once the first is fully filled.
9) Start at the Top
DIYers generally begin with cleaning the carpet. This is a way to push dirt off the dashboard, seats and doors back into the freshly cleaned carpet. Professional detailers begin from the top, and move down to the carpet.
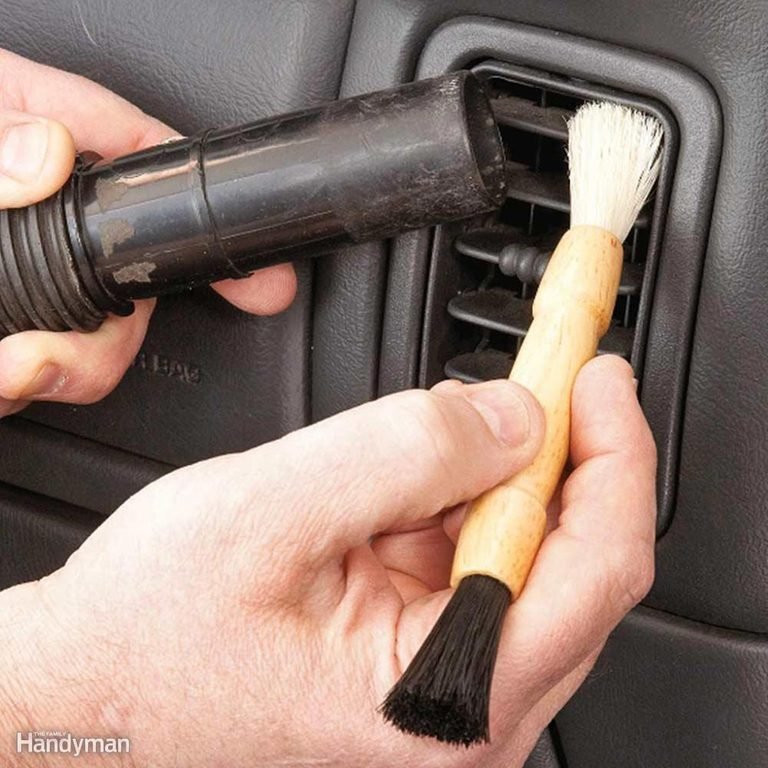
10) Suck It Up As You Go
Make use of a tiny detailer’s brush as well as a shop vacuum to clean the dirt and dust from the crevices and corners of your dashboard and console. This is a tool in the trade in the realm of professional detailing. Use the shop vacuum wand close to your brush to collect all the dirt while working your way towards the floor.
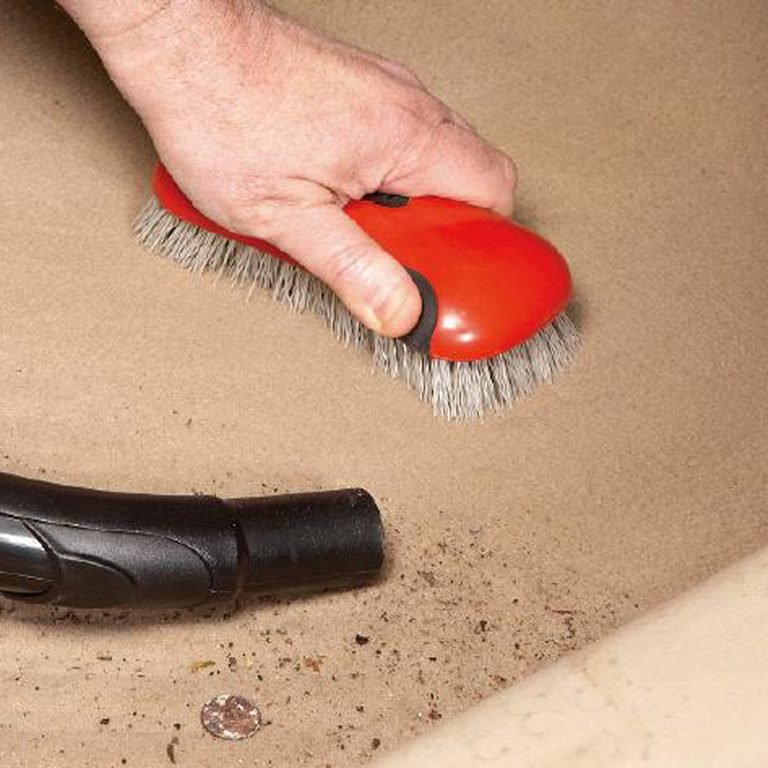
11) Brush and Vacuum Your Carpet
Carpets in the automotive industry don’t want to let dirt go. If you only sweep it clean, it will leave lots of it behind. To get rid of the dirt, detailers apply the use of a stiff brush and scrub the carpet while they vacuum. The dirt particles will move to the surface and it is possible to suck them away using an industrial vacuum.
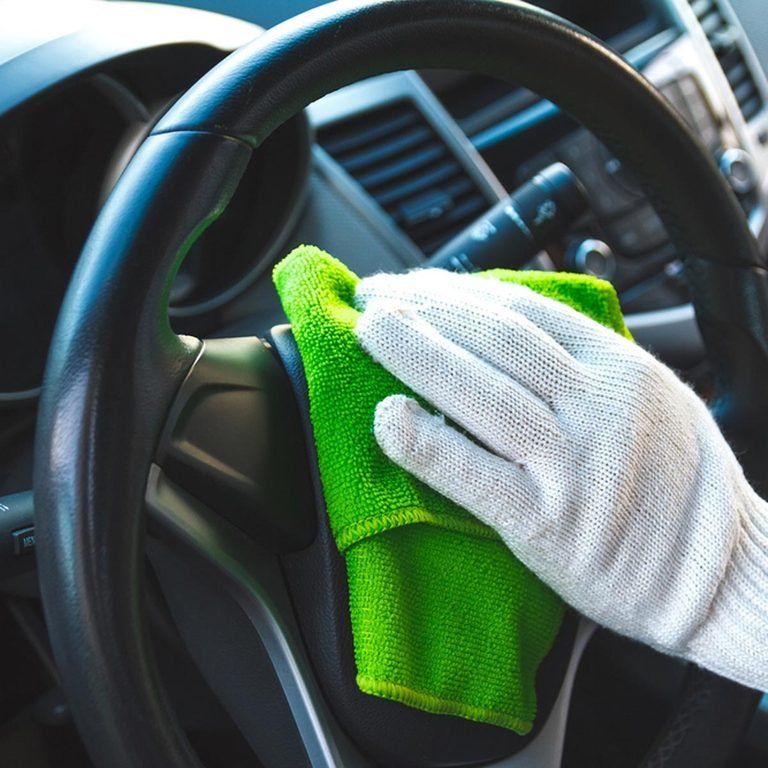
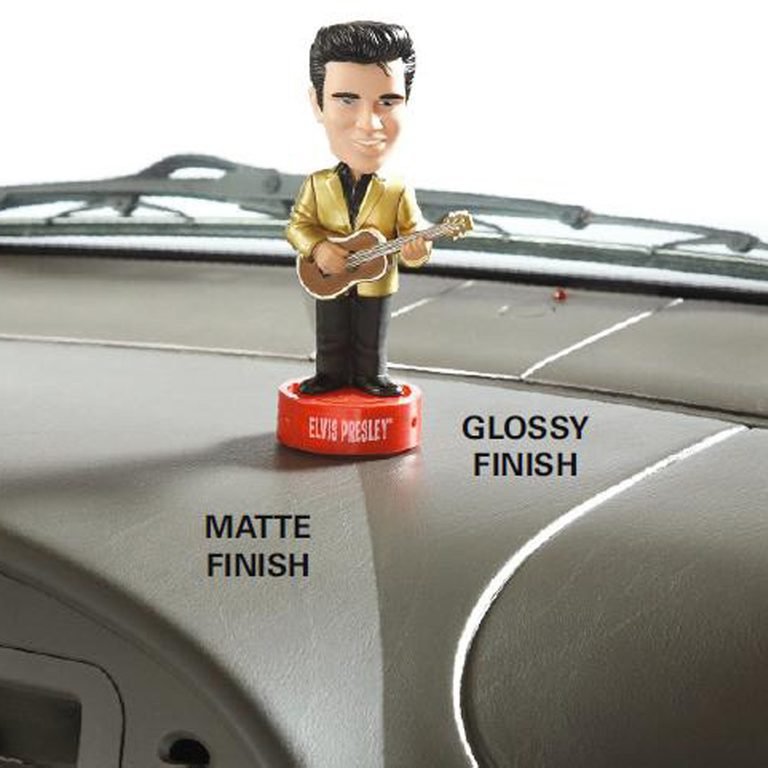
12) Use a Non-Silicone Matte Finish Dash and Vinyl Protectant
Silicone dashboard protection sprays leave a sticky film on your dashboard, which creates more dust, and you’ll need to scrub it more often. Also, a shiny dash reflect off your windshield. The reflection and glare could make it difficult to see, especially at evening. Professional detailers employ matte finish protectants that aren’t made of silicon. They look fantastic and help minimize the glare.
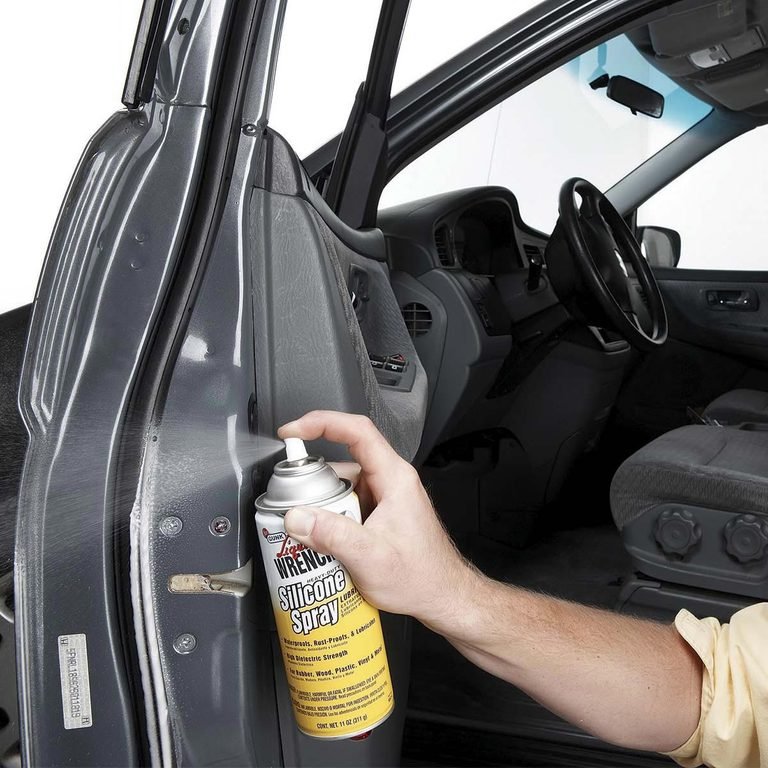
13) Lubricate Door Seals
You likely wiped off the lubricants for your door seals as you cleaned the door. Detailers will make it a habit to treat the seals using silicone spray. Spray onto a rag and then rub it over all around the door seal. The silicone stops sealing from adhering to the door in the summer, and also in winter.
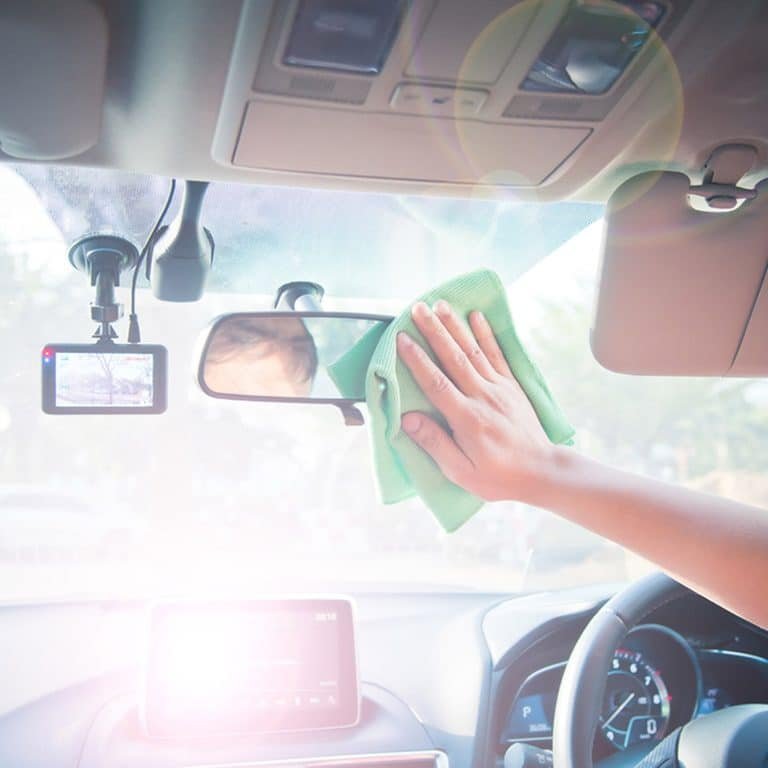
14) Finish With the Glass
If you’ve cleaned the inside of your windows prior to having cleaned the dash and put on the vinyl protectorant, you’ll have to do it all over once more. Detailers will save the cleaning the glass until the close of the process. Cleaning windows now gets rid of all dirt and vinyl treatment excess spray and leave you with sparkling windows.
One Response
It is the amusing information